
|
Dead and dying trees are felled, cleared. Sand and gravel is piled up against large boulders. Levers (2" x 8" boards and small tree trunks) are used to pry the boulders, letting sand fall underneath. This repeated, elevates one end until the boulder rolls down, which is actually uphill and away from the construction site. It takes awhile, but I've moved several tons of rock this way. Footing holes are dug down to ledge rock. Using an electric hammer drill, holes are made for anchor pins. After cementing the rebar pins, concrete is mixed and poured, using stacked chimney cinder blocks as permanent forms. Three 4" x 6" beams across the twelve piers support the floor joists framed with hot dipped galvanized nails. All is anchored together with ties. |

After the 2" x 6" tongue and groove pine floor is screwed in tightly through the groove so the boards can expand and contract with the expected moisture changes, the 42" stub walls were framed, mounted to the deck, covered with Tyvek moisture barrier and sheathed. Then the hoops could be put up. Commercial hoops, of course, were only closely sized, so the tube ends were bent using a bolt as fulcrum, a backup block of wood, a long lever handle and a 'C' clamp. This gave me a stub end at the right angle to lag into the framing. |

Hoops were connected to a ridge tube using carriage bolts. The aluminum extrusion bottom clamp for the dual layer plastic sheet roof is progressively bent and fastened to each end hoop outer diameter using 1/4-28 stainless self-tapping bolts. In a similar manner, 4-1/2" x 3/4" foamed vinyl fascia board is bent to fit the inside of the hoop at both ends and at the middle hoop, just in case I ever decide to partition the interior. This will be the attachment for the greenhouse end walls and form the upper support for the door frame king studs. |
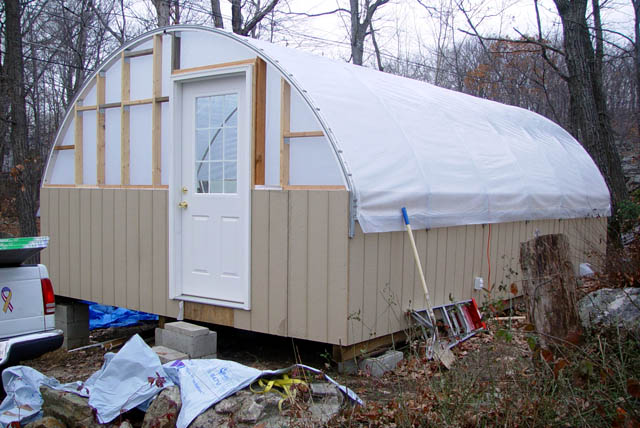
The UV stabilized plastic film, two layers together, is pulled tight and fastened, using clamps and a 1/4" diameter hard drawn aluminum rod, into the groove of the bottom clamp extrusion previously attached to the end hoops. The horizontal edges are not yet snapped into their anchoring rails so that I can get between the layers to attach the inflator hose clamp plate. On the inside, plastic sheet has been stapled to the end wall studs. |

Holes were drilled the wall studs and floor joists, then electrical cables pulled through, awaiting attachment to the electrical distrubution panel that will be located to the left of the door. Fiberglass insulation batting is stuffed in the wall sections and under the floor. |
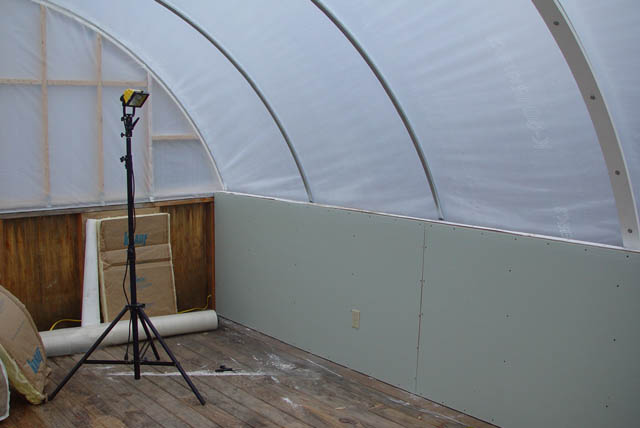
Drywall greenboard is screwed over the wall insulation. Later it will be taped and patched with waterproof compound, then painted with alkyd semigloss white enamel. |
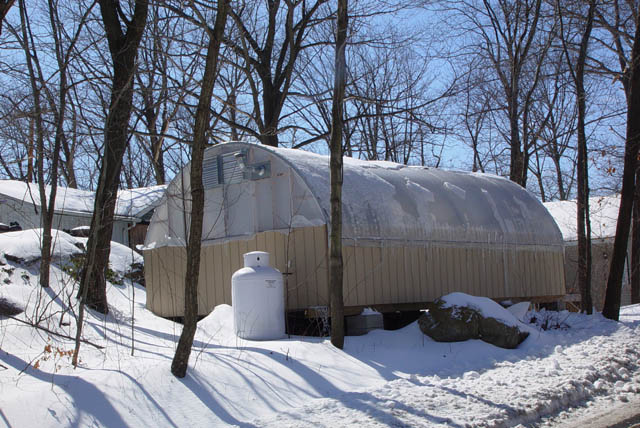
Winter snow and ice covers the greenhouse, but it is a comfortable 40 to 45 deg F inside, thanks to the propane water heater that forms the basis for the under bench recirculating hot water heating system. The system is conceptually simple, but involves hundreds of sweat-soldered fittings and several parts not known to, nor understood by the average home plumber. There are important points to follow when designing the plumbing and control system. Because of the distance to the house and the impossibility of keeping pipes from freezing in the winter, there is no pressurized make-up water feed. |